Your iPhone video looks bright and detailed in Photos, but different after you share it. Before adding a filter or lowering exposure, check whether you are moving an HDR recording into an SDR workflow.
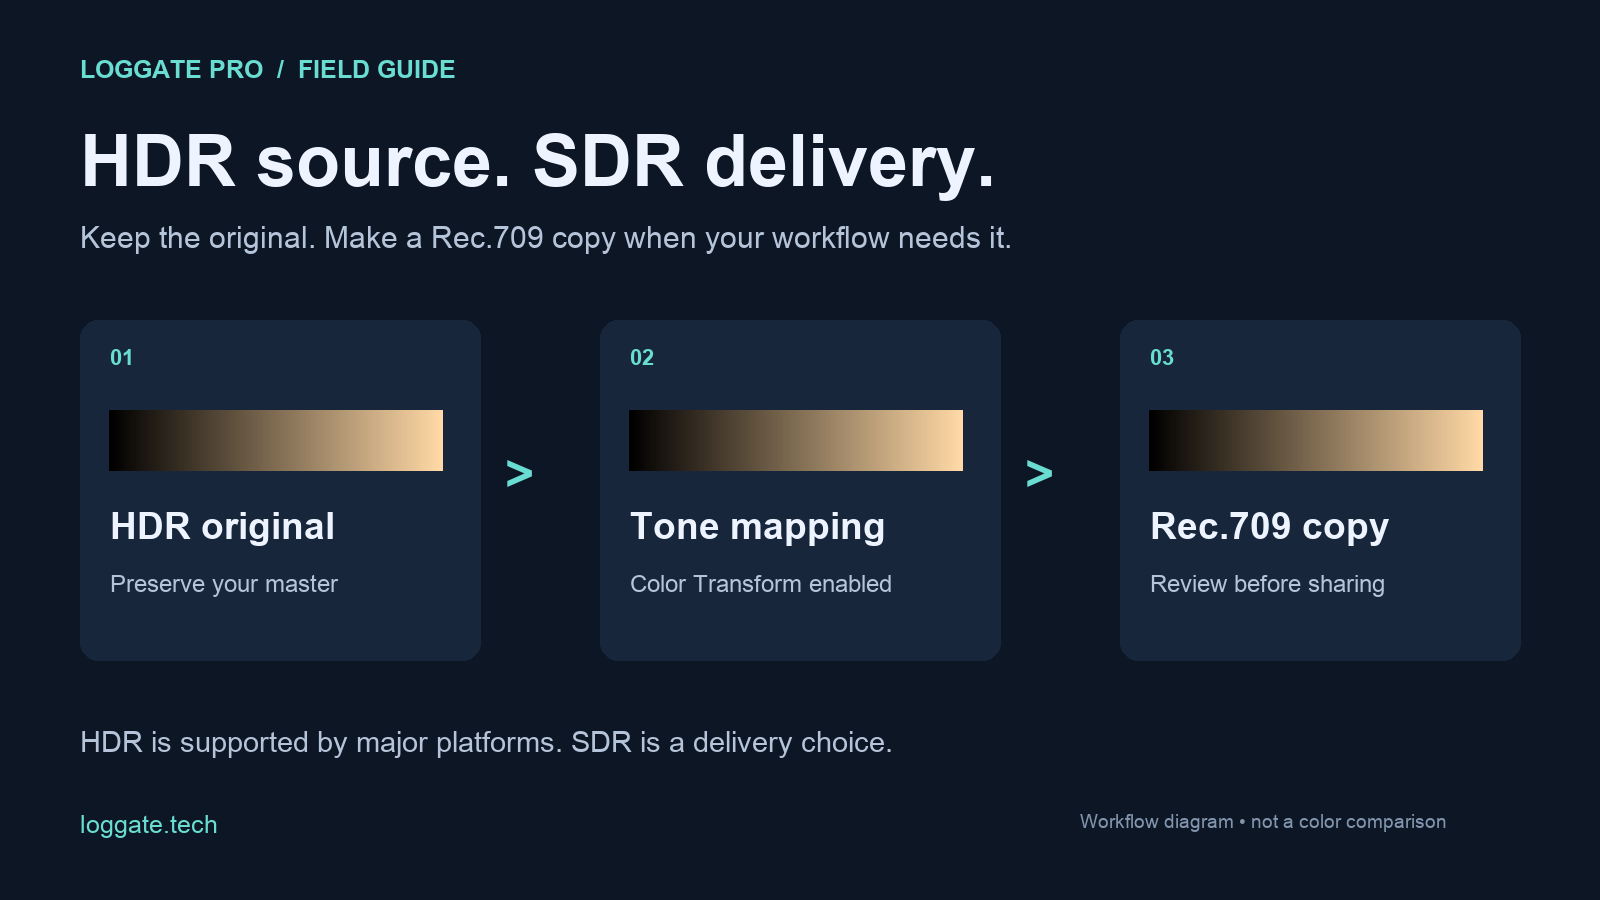
The practical answer: keep the original HDR file. If you need a predictable SDR deliverable, export a separate, tone-mapped Rec.709 copy and review that copy in the destination app. Changing the filename or choosing MP4 alone does not perform this conversion.
Why can iPhone video look different after sharing?
HDR and SDR use different ways to represent brightness and color. An HDR-aware display and player can show highlights that an SDR workflow must map into a smaller brightness range. The player, export settings, color metadata and viewing display all affect the result. A difference in appearance does not automatically mean the camera recorded the wrong exposure.
Apple documents HDR video metadata and the role it plays in playback and export in its HDR video metadata guide. Preserve your original while troubleshooting so you can compare exports without repeatedly recompressing the same file.
Do Instagram and YouTube require SDR?
No. Meta describes Dolby Vision support in Instagram for iOS, and YouTube supports HDR uploads and generates SDR versions for other viewing conditions.
An SDR copy is useful when a client asks for Rec.709, your editing or delivery workflow is SDR, or you want to review the SDR rendering yourself before upload. If your goal is an HDR presentation, keep an HDR workflow instead. SDR is a delivery choice, not a universal fix for every platform.
Convert an HDR clip to Rec.709 in LogGate Pro
- Start with the original clip. Add the source video to LogGate Pro. Avoid using a copy downloaded from a social feed as your master.
- Enable Color Transform → Rec.709. LogGate Pro tone-maps supported HLG/PQ HDR sources to SDR. Leave source detection on automatic; an HDR clip should not be forced through an Apple Log transform.
- Keep the original aspect ratio for the first test. This separates a color decision from a cropping decision.
- Choose an output codec. H.264 produces an MP4 for broad compatibility. HEVC is another delivery option; ProRes is intended for editing workflows with larger files. The color-transform setting, not the file extension, is what matters for HDR-to-SDR conversion.
- Export and inspect the result. Check skin tones, bright windows and highlight detail. Compare on the same display, then test the exported file in the app where it will be used.
- On iPhone or iPad, use Save to Photos on a completed export if you want to select it from your photo library. Allow Photos access when prompted.
What if the export still looks wrong?
- Confirm you uploaded the export. Similar filenames can make it easy to select the original HDR clip again.
- Check for a second conversion. If another editor already created a graded Rec.709 master, use that as an SDR source rather than applying an extra creative correction to compensate for a player difference.
- Compare matching viewing conditions. Different displays and brightness settings are not a controlled color comparison.
- Test a short clip first. One challenging highlight and one face are more useful for checking settings than processing an entire shoot immediately.
Is HDR the same as Apple Log?
No. Do not choose an Apple Log setting merely because an iPhone recorded the video. If your footage was deliberately recorded in Log, see our Apple Log guide. For a standard HDR recording, use the HDR conversion workflow above.
Explore LogGate Pro for local video conversion and multiple aspect-ratio exports. If your workflow also needs upscaling, LogGate Max pairs Pro with LogGate Frame.