If you own an iPhone 17 Pro and shoot video, you’ve probably heard about Apple Log 2. It’s the format that unlocks the full dynamic range of your camera — but it can look flat, washed out, and confusing when you first try it. This guide cuts through the noise and tells you exactly what Apple Log 2 is, why it matters, and how to use it.
What is Apple Log 2?
Apple Log 2 is the second generation of Apple’s logarithmic video format, introduced alongside the iPhone 17 Pro. Like its predecessor, it’s designed to capture as much tonal information as possible — preserving detail in both bright highlights and deep shadows that a standard video format would blow out or crush to black.
The key difference from the original Apple Log comes down to precision. Apple Log 2 uses an updated encoding curve that’s better aligned with Rec.2020 color science, giving professional colorists more room to work in post-production. In practice, this means smoother gradients, better highlight rolloff, and less visible banding in tricky lighting situations like sunset skies or neon-lit interiors.
Think of it as shooting in RAW for video — you capture everything, and decide how it looks later.
Why Shoot in Log Format on Your iPhone?
Standard iPhone video looks great out of the box. But when conditions get challenging — bright windows, harsh midday sun, mixed indoor/outdoor light — the camera has to make hard choices about what to expose for. Highlights can clip to white. Shadows block up. You’re stuck with whatever the camera decided.
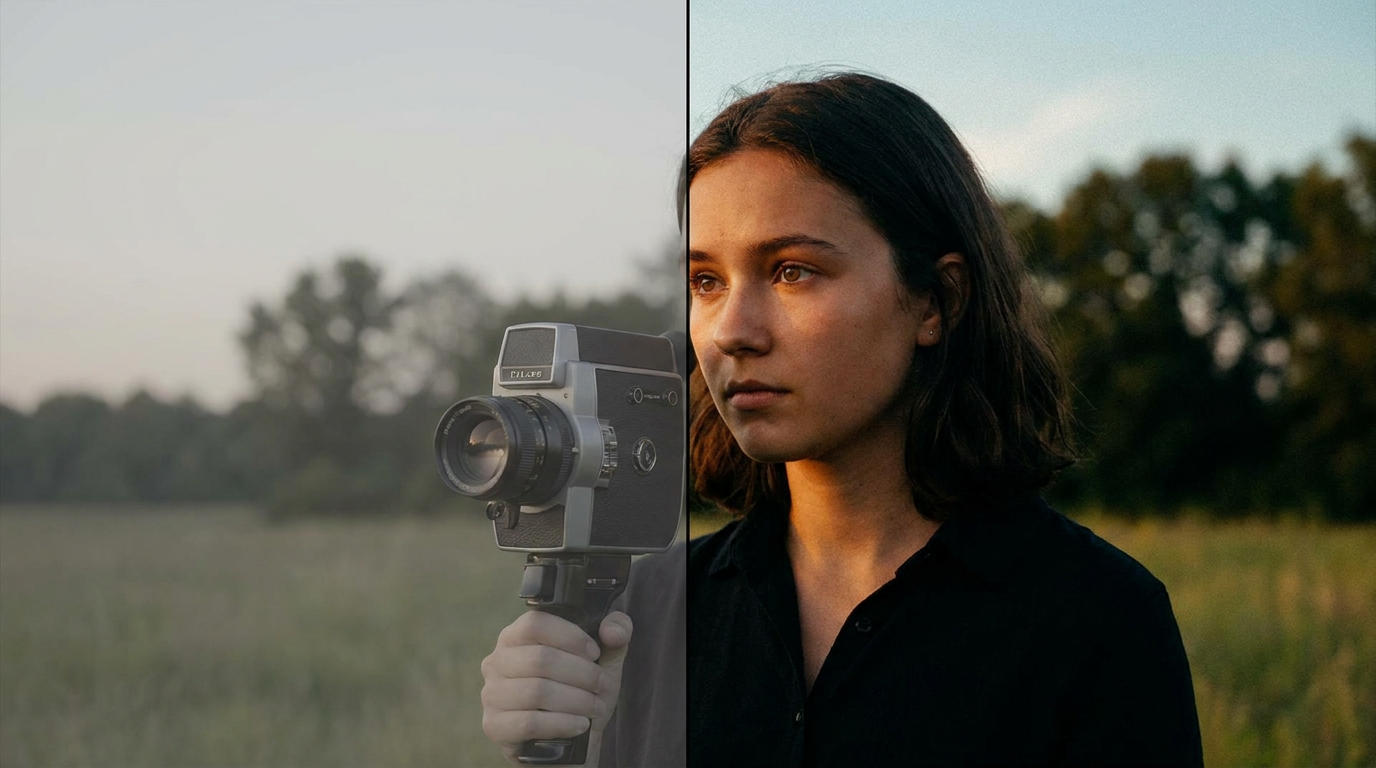
Log footage looks terrible straight out of the camera. It’s flat, desaturated, and low-contrast — intentionally so. That “wrong” look is actually all the data being preserved across the full dynamic range. In the color grade, you restore contrast and color to taste, with far more latitude than standard footage gives you.
For filmmakers, documentarians, and anyone who wants consistent-looking footage across different scenes, Apple Log 2 is a significant upgrade. The tradeoff is that every clip needs a grade before it looks polished.
Apple Log 2 Color Space: Rec.2020 Explained Simply
When you see “Rec.2020” in Apple Log 2 documentation, don’t panic — it’s simpler than it sounds.
Rec.2020 is a color space, meaning it defines the range of colors a system can capture and display. It’s significantly wider than the Rec.709 color space used by most HD TVs and standard video workflows — covering nearly the full range of colors a human eye can perceive.
What this means practically: Apple Log 2 footage captures more saturated reds, greens, and blues than standard video. When you grade the footage on a display that supports a wide color gamut, you’ll see richer, more lifelike colors. On a standard display, you’ll still benefit — the wider capture gives your grading tools more to work with, even when the final output is Rec.709 for standard streaming.
How to Enable Apple Log 2 on iPhone 17 Pro
Apple Log 2 is only available in specific conditions. Here’s how to turn it on:
- Open the Camera app and switch to Video mode.
- Tap the resolution/frame rate indicator in the top right and make sure you’re shooting in ProRes (4K or 1080p).
- Go to Settings → Camera → Formats and confirm Apple ProRes is enabled.
- Back in the Camera app, tap the Apple Log button (the “L” icon in the toolbar) — this toggles Log recording on.
- You should see the viewfinder shift to a flat, low-contrast look. That’s correct.
Note: Apple Log 2 requires ProRes recording, which generates large files. A one-minute 4K ProRes clip can exceed 6GB. Make sure you have sufficient storage, or record to an external drive via USB-C if your workflow supports it.
Color Grading Apple Log 2: Your Options
Once you have Apple Log 2 footage, you have several paths to a finished grade:
LUTs (Look-Up Tables)
The fastest route is a technical LUT that converts Apple Log 2 to a standard output color space. Apple provides an official Apple Log to Rec.709 LUT that you can apply in any professional NLE. This gives you a neutral, correctly exposed starting point that looks like normal video — from there, add a creative grade on top.
DaVinci Resolve
DaVinci Resolve is the gold standard for Log footage. Set your project color space to DaVinci Wide Gamut / DaVinci Intermediate, flag your clips as Apple Log 2 / Rec.2020 in the Color Management panel, and Resolve handles the technical conversion automatically. You grade on a clean, normalized image and let the color management pipeline do the heavy lifting.
Final Cut Pro
Final Cut Pro 11 has excellent built-in support for Apple Log 2. Import your clips and FCP will automatically tag the color space. Apply the Log Processing effect or use a custom LUT. Final Cut’s color wheels and curves work natively on the log-encoded image, which makes it approachable for editors who aren’t dedicated colorists.
For quick turnarounds where you want to grade directly on your iPhone without importing to a desktop, there are also mobile conversion tools — more on that in a moment.
Common Mistakes and How to Avoid Them
Apple Log 2 punishes a few common errors more than standard video formats do:
- Overexposure: Log footage looks dark on the camera’s monitor, which tempts shooters to add exposure compensation. Resist the urge — Log has a deceptive false floor. Use the histogram or zebras to verify exposure, not the viewfinder. Overexposed Log footage has very little recovery headroom compared to ProRAW.
- Wrong LUT at export: Applying a Rec.709 LUT to footage that was already converted, or vice versa, creates a muddy, washed-out result. Keep a clear mental note of what color space each stage of your pipeline expects.
- Forgetting to tag the color space: If you drop raw Apple Log 2 footage into a Rec.709 timeline without flagging it correctly, the software won’t know to apply the right transform. Always confirm that your NLE is reading the clip metadata correctly — look for “Apple Log 2” in the clip properties, not “Rec.709.”
- Using creative LUTs designed for other cameras: A LUT built for ARRI LogC or Sony S-Log3 will produce incorrect results on Apple Log 2. Only use LUTs explicitly designed for Apple Log 2, or use a technical LUT first to normalize the image.
Quick Workflow Tip: Grade on Your iPhone
For documentary work, event coverage, or any situation where you need a polished clip without sitting down at a desktop, grading Apple Log 2 footage on the iPhone itself is genuinely useful. Apps like LogGate are built specifically for this — they apply a proper technical conversion from Apple Log 2, let you adjust the grade, and export a finished, color-correct file ready to share or cut into a timeline.
It won’t replace a full DaVinci Resolve session for a narrative film, but for quick-turnaround content or when your MacBook isn’t with you, it’s a practical alternative to sharing flat, ungraded log clips.
The Bottom Line
Apple Log 2 is the most capable video format the iPhone has ever shipped with. It captures more dynamic range, preserves more color information, and gives you real flexibility in post — but it requires a deliberate workflow to use well. Get your exposure right in camera, keep your color space tags consistent, and use tools that understand the format. Do that, and your iPhone 17 Pro footage will hold up in professional post-production pipelines right alongside dedicated cinema cameras.
Ready to put your Apple Log 2 footage to work? Download LogGate on the App Store →