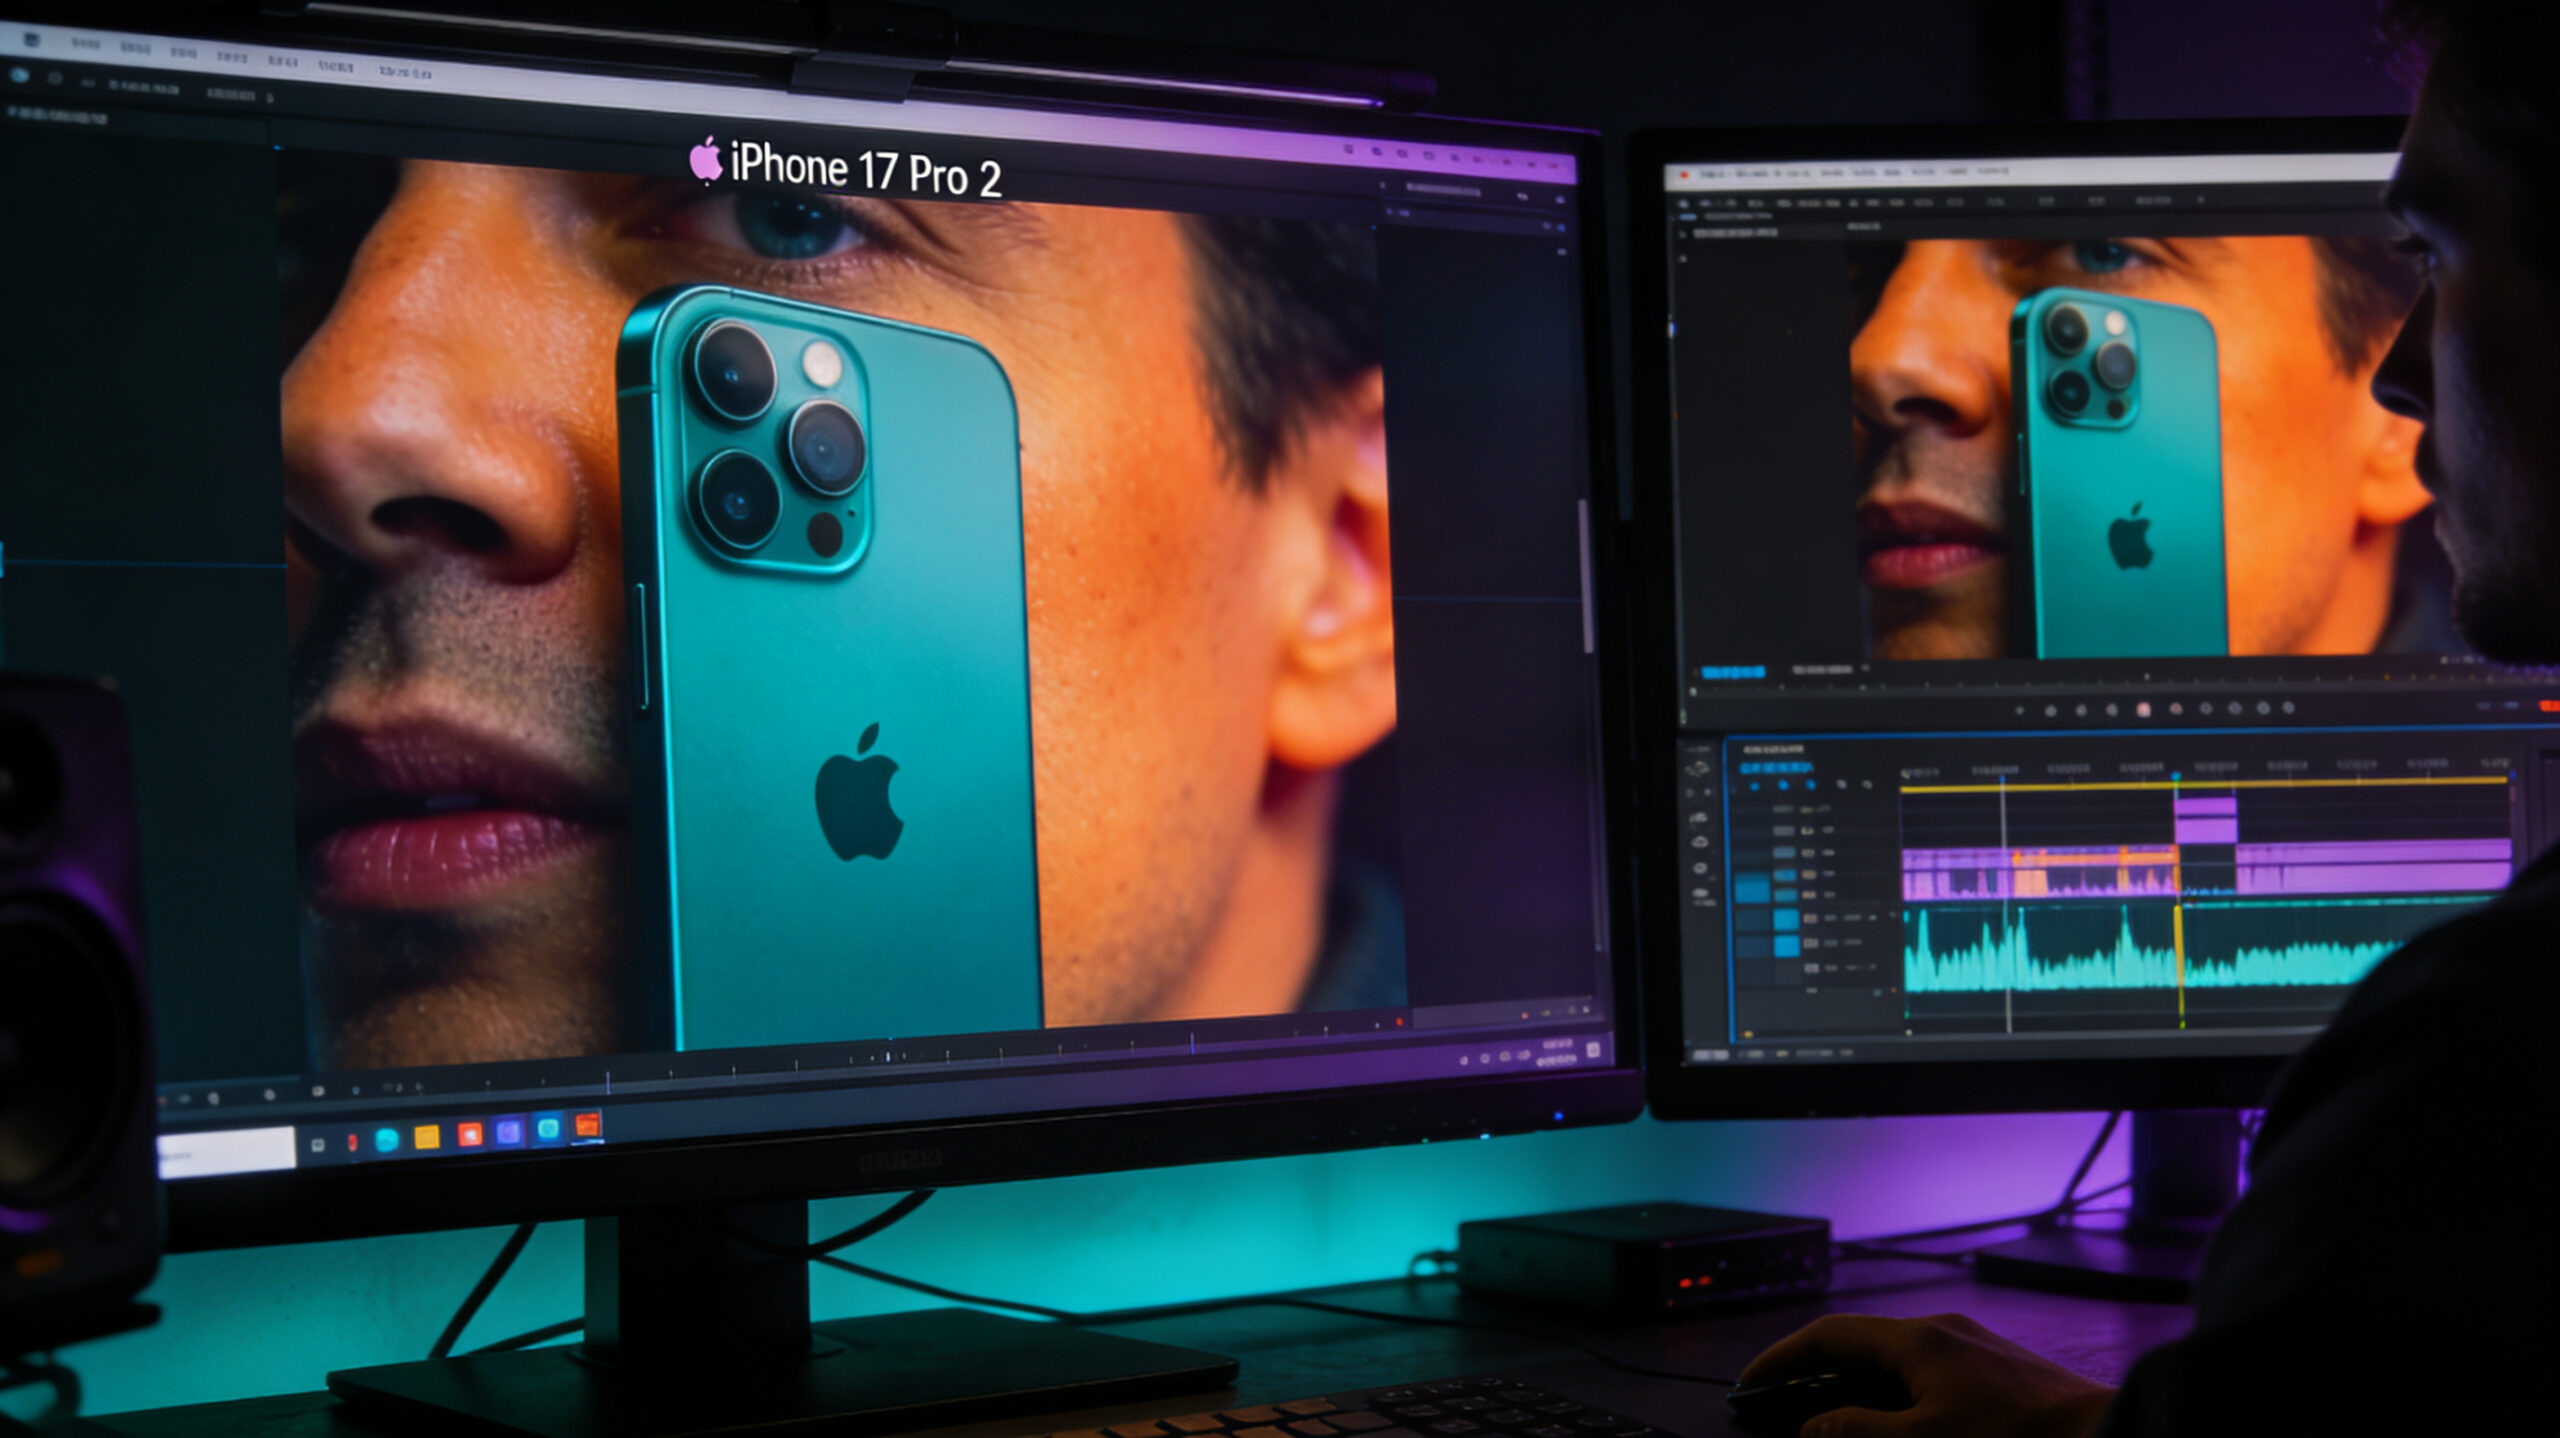
If you shoot Apple Log or Apple Log 2 on an iPhone 17 Pro, your footage comes out of the camera flat. That is the point — the flat profile preserves more detail in highlights and shadows, giving you latitude to shape the final look in post. But that flat image also means your audience, your editor, and your client are staring at gray, washed-out footage until someone applies a LUT.
Understanding LUTs is one of the highest-leverage skills an iPhone filmmaker can develop. Once you know how they work, you spend less time guessing and more time making intentional creative decisions.
What is a LUT?
LUT stands for Look Up Table. It is a file — usually with a .cube or .3dl extension — that maps one set of color values to another. When you apply a LUT to a clip, it takes every pixel’s original color and converts it to a new value based on the table’s instructions.
Think of it like a translation document: the LUT tells your editing software, “when you see this color, display this other color instead.” The conversion happens mathematically across millions of color combinations, covering hue, saturation, and luminance in three dimensions — which is why you will sometimes hear LUTs called “3D LUTs.”
The key thing to understand is that a LUT is not a filter layered on top of your footage. It is a precise, repeatable mathematical operation applied to the pixel data itself. That is why a LUT can turn Apple Log 2 footage into broadcast-correct Rec.709 in one step — it is not approximating a look, it is executing a defined conversion.
Two types of LUTs: technical and creative
Not all LUTs do the same job. Once you recognize the difference, the confusion around LUT workflows mostly disappears.
Technical LUTs (conversion LUTs)
A technical LUT converts footage from one color space and gamma to another. The most common example for iPhone filmmakers is an Apple Log to Rec.709 LUT. Rec.709 is the standard color space for HD video — it is what YouTube, Vimeo, broadcasters, and most screens expect.
When you shoot Apple Log 2 and send your files to an editor or client who is not doing a full grade, they need viewable, normalized footage. A technical LUT handles that conversion. It is not about aesthetics — it is about accuracy.
Apple provides official Log to Rec.709 conversion LUTs, and most professional NLEs include their own. The goal is a clean, neutral result that looks the way the scene looked on set. No added contrast, no film grain, no color shift. Just an accurate translation.
Creative LUTs (look LUTs)
Creative LUTs apply a specific look on top of your footage. A creative LUT might add warm shadows and desaturated greens for a film-inspired look, boost reds and roll off highlights for a documentary feel, or apply a harsh high-contrast treatment for narrative work.
Creative LUTs are usually applied after a technical conversion, not before. The correct order matters:
- Apply the technical LUT first (Apple Log 2 → Rec.709)
- Apply the creative LUT second (Rec.709 → your intended look)
Applying a creative LUT directly to a flat log image almost never produces the intended result. The LUT was designed to work on footage that is already in a known, normalized state. Putting it on raw log footage is like asking a recipe written for cooked ingredients to work on raw ones.
Where LUTs fit in an iPhone filmmaker’s workflow
Here is how a typical Apple Log 2 workflow looks with LUTs in the right places.
On set
Final Cut Camera on iPhone 17 Pro lets you apply a monitoring LUT while recording. This means you are still capturing flat Apple Log 2 data to the file, but the phone’s display shows a normalized or creatively-graded preview. Your on-set frame decisions look accurate without baking anything into the actual footage.
Use a technical monitoring LUT during capture — Apple Log 2 to Rec.709. Add a lightweight creative layer if your director or client needs to see the intended look in the viewfinder.
In ingest
After a shoot, many teams run their Apple Log 2 files through a conversion pass before sending them to an editor or review platform. Converting your log masters to Rec.709 deliverables — while archiving the originals — means collaborators can open and review footage without needing to manage LUTs themselves.
This is one of the core workflows LogGate Pro is built for: batch-converting Apple Log and Apple Log 2 footage into normalized, distribution-ready files while preserving your originals. The converted files are ready to drop into any editorial or review workflow without additional setup.
In post
In DaVinci Resolve, Final Cut Pro, or any full-featured NLE, LUTs show up in your color workspace. In Resolve, you can apply them in the Color page as a node. In Final Cut Pro, you can apply them through the Color Wheels or Custom LUT effect. Most workflows use LUTs in the early stages of a grade pass — establish your baseline conversion first, then make creative decisions on top of that stable foundation.
Choosing LUTs for Apple Log 2 footage
The LUT ecosystem is noisy. Here is what to look for when evaluating LUTs for iPhone footage specifically.
Check the input color space
A LUT designed for Apple Log will not behave correctly on Apple Log 2 footage. They are different color profiles. When you download or purchase LUTs, the product description should tell you what input color space the LUT expects. If it says “Apple Log 2,” use it with Apple Log 2 footage. If it says “Apple Log,” it is for older iPhone capture or LogGate Frame conversions from a source using the original Log profile.
Understand intensity control
Most NLEs let you adjust LUT intensity — how strongly the table is applied. A creative LUT at 100% strength can easily overwhelm the image. Working between 60–85% is common, especially when you want to blend a signature look without making it look heavily processed. Get comfortable using the opacity/mix control before committing to any specific LUT.
Test on varied footage before committing
A LUT that looks great on a well-lit outdoor scene may fall apart in a mixed-light interior. Before building a project around any particular LUT, test it across your range of planned shots — including challenging exposures, skin tones, and lighting conditions. A LUT that holds up under varied conditions is worth more than one that only looks good in ideal shots.
Common LUT mistakes iPhone filmmakers make
Applying a creative LUT directly to log footage
This is the most common error. It is easy to assume that stacking more LUTs gets you closer to the look faster, but skipping the technical conversion step produces muddy, incorrect results. Always convert log to Rec.709 first.
Using LUTs as a substitute for proper exposure
A LUT is not a fix for underexposed or overexposed footage. If you blow out your highlights in-camera, no LUT can restore what was not captured. LUTs work best on footage that was properly exposed from the start. Treat your exposure on set as seriously as your LUT selection in post.
Ignoring white balance before applying LUTs
LUTs assume a reasonably neutral color temperature in the source material. If your footage has a strong warm or cool cast before the LUT is applied, the output color will carry that cast through the conversion. Fix obvious white balance issues before applying your technical LUT, not after.
Using LUTs downloaded from unreliable sources
Not all LUTs are created equal. Some free LUTs floating around the internet were built carelessly or for different input profiles than advertised. When a LUT produces unexpected results, always verify that the source material, the LUT’s expected input space, and your NLE’s color management settings are aligned before assuming the footage is the problem.
Where LogGate Pro fits the LUT workflow
The LUT ecosystem can feel fragmented — different tools for monitoring, different tools for conversion, different tools for creative grading. Part of what makes a streamlined iPhone filmmaker workflow valuable is reducing the number of handoffs between steps.
LogGate Pro handles the conversion step — taking your flat Apple Log or Apple Log 2 clips and producing normalized Rec.709 deliverables. That gives your entire downstream workflow a clean starting point: editors, reviewers, and clients all get viewable footage without needing to manage log-to-Rec.709 LUTs themselves.
From there, creative LUT application happens in your NLE of choice, on footage that is already in a stable, accurate state. The result is a faster, more consistent workflow — from the camera to the timeline to the finished grade.
Quick-reference LUT checklist
- On set: Apply a technical monitoring LUT in Final Cut Camera so your display shows normalized footage while capturing flat Log.
- In ingest: Batch-convert your log files to Rec.709 (using LogGate Pro or your NLE’s built-in tools) before distributing to editors or review platforms.
- In post: Apply technical LUT first, creative LUT second. Control intensity — full-strength creative LUTs are often too heavy.
- When selecting LUTs: Confirm the LUT’s expected input color space. Test across a range of shots. Adjust intensity to taste.
- When troubleshooting: Check exposure, white balance, and input profile before assuming the LUT is the problem.
Bottom line
LUTs are one of the most reliable tools in post-production when you understand what they are doing. The technical-to-creative order, the importance of matching input color spaces, and the discipline of proper exposure all matter — but once those fundamentals are solid, LUTs give you fast, repeatable color results across a project.
For iPhone filmmakers working in Apple Log 2, the workflow is clear: shoot flat, convert accurately, and apply creative looks on a clean foundation. That process gets faster when your ingest tools handle the conversion step without extra effort on your part.