Your footage is sharp on your phone. But the moment you pull it into a timeline — or scale it up for a larger display — the cracks show. AI video upscaling promises to fix that. Here’s how it works, and how to get the most out of it on a Mac in 2026.
What Is AI Video Upscaling?
Traditional upscaling is simple math: you stretch pixels to fill a larger frame. The result is often soft, blurry, and noticeably degraded. AI video upscaling is different. Instead of interpolating between existing pixels, a machine learning model synthesizes new detail — inferring what the missing information should look like based on patterns learned from millions of images.
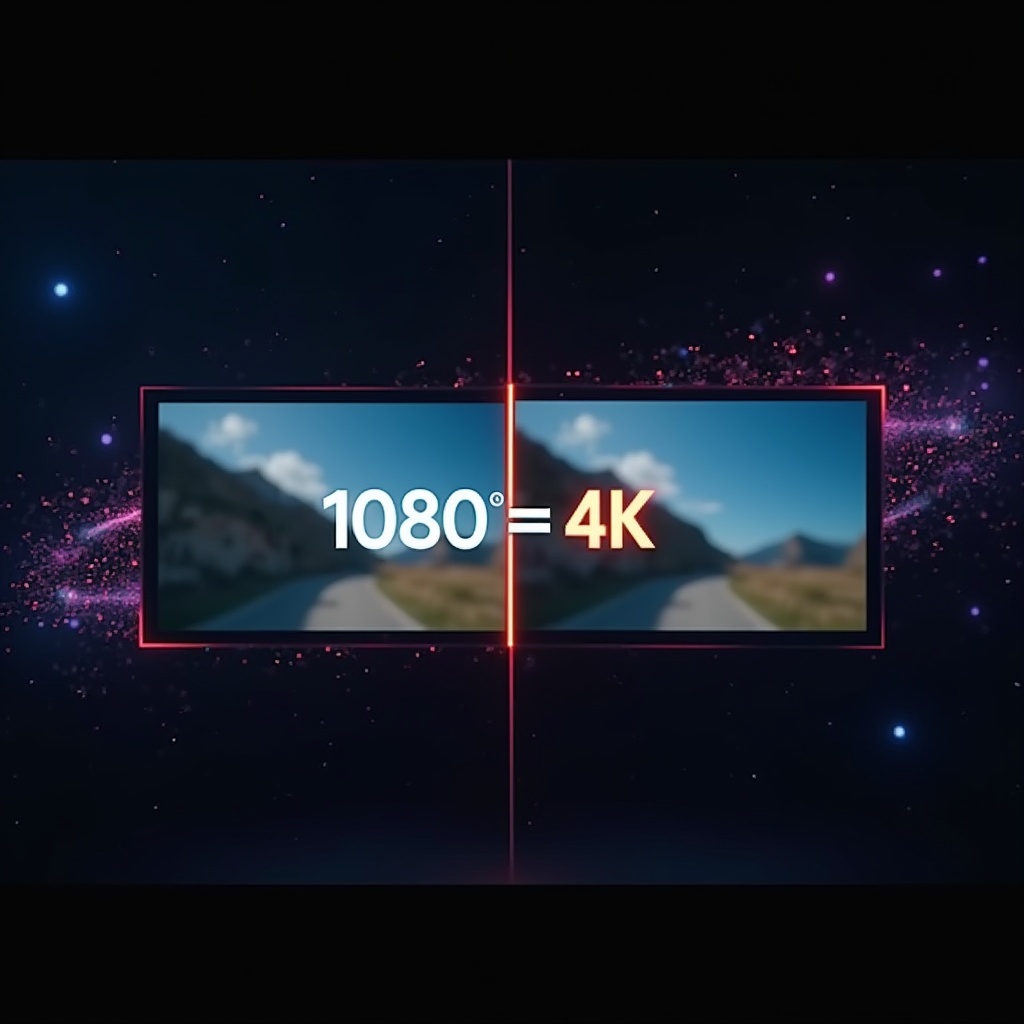
The difference in practice can be significant. Footage that looks acceptable at 480p often looks genuinely sharp at 1080p after a good AI upscale. 1080p content can hold its own at 4K. That said, AI upscaling is not magic — it’s inference, and inference occasionally gets things wrong.
How Mac AI Upscaling Works
Apple Silicon Macs have a significant advantage here: Apple’s MetalFX framework ships with a spatial upscaler that runs entirely on the GPU, with no third-party models, no internet connection, and no cloud dependency. It’s fast, consistent, and — critically — private.
MetalFX Spatial Upscaling takes a lower-resolution frame and outputs a higher-resolution version using machine learning inference on-device. The key word is spatial: it operates per-frame, which means it doesn’t need to buffer sequences of frames the way temporal upscalers do. The output is predictable and artifact-free in most cases.
This matters for video because the alternative — sending your footage to a cloud service — introduces latency, cost, and privacy risks. For professional or personal footage, keeping processing on-device is almost always preferable.
Scale Factors: What to Choose
Most upscaling tools offer a few fixed scale options: 1.5×, 2×, 3×, or 4×. Choosing the right one depends on your source and target:
- 1.5× — Best for nudging 1080p toward 1440p, or 4K toward 6K. Minimal visible artifacting, maximum speed. Good for archival or display-optimization workflows.
- 2× — The most common choice. 480p → 960p, 720p → 1440p, 1080p → 4K. Strikes the best balance between quality and speed for most use cases.
- 3× — Use for older SD footage (360p → 1080p, 480p → 1440p). Pushes the model harder; expect some softness or edge artifacts in motion-heavy scenes.
- 4× — Maximum enhancement for archival footage. 480p → 1920p, 720p → 4K. Best for static or slow-moving content where the model has more time to be accurate.
A good rule of thumb: go with the lowest scale that gets you to your target resolution. Aggressive upscaling compounds errors.
AI Video Upscaling for iPhone Filmmakers
iPhone Pro cameras now capture Apple Log footage — a wide-latitude log format designed for professional post-production. For iPhone filmmakers, AI video upscaling adds an important wrinkle: standard upscalers don’t understand log color encoding.
When you upscale Apple Log footage with a generic tool, the HDR headroom gets clipped, color space metadata gets stripped, and your LUT pipeline breaks downstream. The upscaler doesn’t know it’s processing log — it treats every pixel value as if it represents final display luminance, which it doesn’t.
The correct approach is to upscale before color grading, using a tool that preserves your Apple Log metadata end-to-end. This means you bring the upscaled log footage into Final Cut Pro or DaVinci Resolve and apply your LUT to footage that behaves exactly like native 4K Log. For a detailed breakdown of this workflow, see our guide on how to upscale iPhone Log footage without destroying your color grade.
LogGate Frame handles this correctly: it uses Apple’s MetalFX engine in a two-pass process that reads and re-attaches your Apple Log 2/3/4 metadata after the upscale. The result is upscaled log footage that color grades identically to what you’d have gotten from a native 4K camera.
If your iPhone workflow includes LogGate Pro for Apple Log → Rec.709 conversion, the sequence is: upscale with LogGate Frame first, then convert with LogGate Pro. This preserves the most detail at every step, since you’re color-transforming the highest-resolution version of the footage.
Tips for Getting the Best Results
1. Start with the cleanest possible source
AI upscaling amplifies what’s already in the image — including noise, compression artifacts, and banding. A clean ProRes or high-bitrate H.264 file will upscale dramatically better than a compressed social media export. If you have access to original camera files, use them.
2. Denoise before upscaling
Grain and noise are the enemy of upscaling quality. The model will try to preserve them as structure — which looks wrong at higher resolutions. Run a light denoising pass first if your footage has visible sensor noise, especially in low-light shots. A subtle denoise (reduce noise by 30–50%, not 100%) keeps film texture while removing the distracting high-frequency noise the upscaler would otherwise amplify.
3. Match your codec on the way out
Upscaling in ProRes and re-encoding to H.264 for delivery is the cleanest pipeline. If you upscale directly to a compressed codec, the compression artifacts at the output stage will undo some of the sharpness gains. Use a lossless or near-lossless intermediate if your storage allows it, then compress for delivery afterward.
4. Preserve your color metadata
One of the most common upscaling mistakes: the tool strips or converts color space tags during the process. If you’re working with log footage (Apple Log, S-Log, C-Log) or HDR (HLG, HDR10), make sure the upscaler passes those tags through untouched. Re-applying a LUT to incorrectly-tagged footage is a correctable problem, but it costs time and introduces another generation of processing.
Look for tools that explicitly document how they handle color metadata. Lossless passthrough — where the tool reads and writes the tags without touching them — is the gold standard.
5. Test before committing to a batch
Process one clip at 2× and inspect it at full resolution before running a 100-clip batch. Pay attention to: edges around fine details (hair, foliage, text), motion blur handling, and whether any HDR or log metadata survived the round-trip. A five-minute test can save hours of re-processing.
6. Use appropriate scale for your content type
Talking-head content (podcasts, interviews, corporate video) upscales exceptionally well because faces contain highly predictable structure that AI models handle confidently. Action footage with fast motion, particle effects, or extremely fine texture (grass, crowd shots) is harder — try 2× before jumping to 4× for those clips.
What to Look for in an Upscaling App
Not all upscaling apps are created equal. When evaluating your options, prioritize:
- On-device processing — Your footage never leaves your machine. Faster than cloud, private by default, works offline.
- Color metadata passthrough — Especially important for log and HDR footage. The upscaler should be transparent to color information.
- Batch processing — A queue-based workflow is essential for real projects. You shouldn’t have to babysit each clip.
- No subscription required — For a tool you use regularly, per-month pricing adds up. One-time purchase tools are almost always better value for professionals.
- Native Apple Silicon support — On-chip GPU acceleration makes a substantial difference in both speed and power consumption. Rosetta-translated tools leave performance on the table.
A Word on Privacy
If you’re working with client footage, proprietary content, or anything you wouldn’t want on a server you don’t control, cloud upscaling services aren’t appropriate. On-device AI upscaling sidesteps this entirely: your footage goes in, higher-resolution footage comes out, and nothing leaves your disk. This should be a baseline requirement for professional workflows, not a premium feature.
LogGate Frame: On-Device Upscaling for Mac
If you’re looking for a Mac app that checks all of these boxes, LogGate Frame is worth a look. It uses Apple’s MetalFX spatial upscaler to process your video entirely on-device — no cloud, no account, no subscription. Scale options are 1.5×, 2×, 3×, and 4×, and the app passes Apple Log 2, HDR10 PQ, and HLG color metadata through untouched, which is rare at this price point.
The workflow is straightforward: drop your clips into the queue, set your scale and codec, hit Start. It handles batches of 100+ clips without hand-holding. Apple Silicon only (macOS 14.2 or later), one-time purchase.
Currently available at an intro price of $19.99 — the regular price goes to $49.99 after July 2026.
Download LogGate Frame on the Mac App Store →
Frequently Asked Questions
Does AI video upscaling actually work?
Yes — AI video upscaling produces noticeably sharper results than traditional bicubic interpolation, especially for faces, text, and structured edges. Quality depends on the source: clean, high-bitrate footage upscales well; heavily compressed or noisy footage shows more artifacts. For most professional video content, 2× AI upscaling is visibly better than any non-AI alternative.
What is the best AI video upscaler for Mac in 2026?
For Mac users on Apple Silicon, the best option is a native MetalFX-based upscaler like LogGate Frame. It runs entirely on-device using Apple’s GPU framework, supports batch processing, and preserves Apple Log and HDR metadata — critical for professional workflows. Cloud-based alternatives are slower, more expensive, and introduce privacy risks.
Can I upscale Apple Log footage without breaking my color grade?
Yes, but only with a tool that explicitly preserves log color metadata. Standard upscalers clip HDR headroom and strip color space tags, which corrupts your grade. You need an upscaler that reads and re-attaches Apple Log metadata after processing. LogGate Frame does this via a two-pass MetalFX pipeline, producing upscaled Log footage that grades correctly in Final Cut Pro or DaVinci Resolve.
Is 2× or 4× AI upscaling better?
2× is better for most content. It balances quality and speed — 1080p to 4K is the most common use case and produces clean results. 4× pushes the model harder and introduces more inference errors, especially on motion-heavy footage. Only use 4× when your source is very low resolution (360p–480p) and contains slow-moving or static content.
How long does AI video upscaling take on a Mac?
On Apple Silicon, MetalFX upscaling is fast. A minute of 1080p → 4K footage processes in under two minutes on M2 or later. M1 hardware takes slightly longer but is still practical for batch workflows. Processing speed scales with chip generation — M3 and M4 Macs are the fastest. Cloud tools are often slower once you factor in upload time and queue delays.