Why iPhone Apple Log Changes Everything for Indie Filmmakers
Two years ago, professional cinematographers had a technological advantage that would cost $50,000 or more in camera gear. Today, it’s in your pocket.
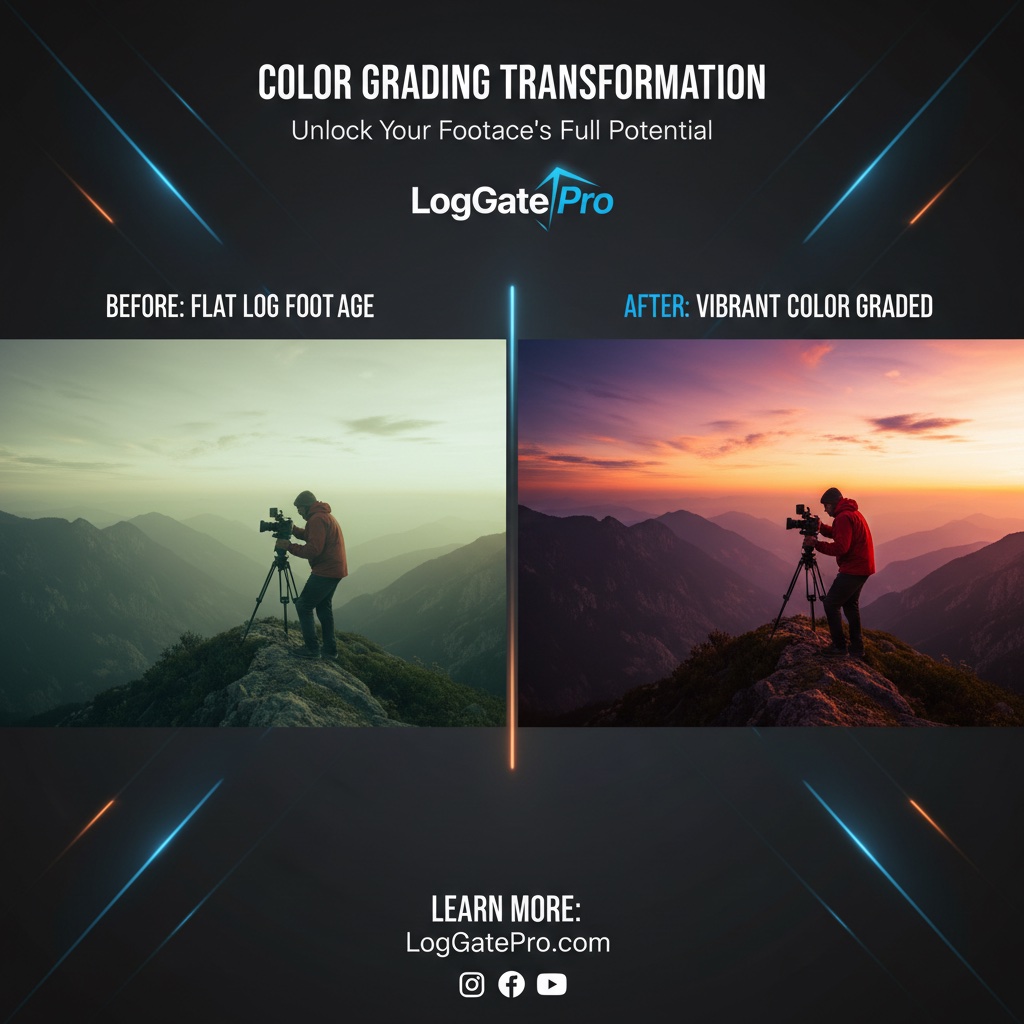
The iPhone 17 Pro brought Apple Log video capture to the mainstream. This expanded color space gives you the same creative flexibility as high-end cinema cameras. But there’s a problem most creators don’t know how to solve: Log video looks flat and washed-out straight from the camera.
In this iPhone Apple Log tutorial, you’ll learn the full workflow: how to record in Apple Log, convert your footage with LogGate Pro, and color grade in Final Cut Pro or DaVinci Resolve. By the end, you’ll have broadcast-ready footage without a $50K camera rig.
What Is Apple Log? (And Why It Looks Flat)
Apple Log is a logarithmic color profile that captures a wider dynamic range than standard video. Think of it like shooting in RAW on a DSLR instead of JPEG — you’re preserving more information so you can make better decisions in post-production.
Standard iPhone video (Rec.709) compresses highlights and shadows aggressively to produce a ready-to-watch image. Apple Log keeps those details alive: bright skies stay recoverable, shadows retain texture, and skin tones hold more nuance.
The trade-off is that Log footage looks wrong on a standard display. It appears low-contrast and desaturated because the camera is intentionally holding back the look — that’s your canvas for color grading.
Apple Log vs Apple Log 2
Apple Log 2, introduced with iPhone 17 Pro, extends the color gamut further and improves highlight rolloff. If you’re shooting on the latest hardware, use Apple Log 2 — it gives you more headroom. Learn more about Apple Log 2 and what changed.
Step 1: Enable Apple Log on iPhone 17 Pro
- Open the Camera app and switch to Video mode
- Tap the resolution/frame rate indicator at the top right
- Select ProRes or HEVC as your format
- Tap the color profile icon and choose Apple Log or Apple Log 2
- Confirm the LOG indicator appears in the viewfinder — it will look flat/gray, which is correct
Recommended settings: 4K 24fps ProRes for the highest quality. If storage is a concern, 4K 30fps HEVC in Apple Log still gives excellent results.
Step 2: Transfer Footage to Your Mac
For small projects, AirDrop is the fastest option. For large batches of ProRes footage, use a USB-C cable directly — ProRes files are large and AirDrop can be slow.
Always keep your originals. Never edit or convert in place. Create a project folder structure like:
Project Name/
  01_originals/
  02_converted/
  03_edit/
Step 3: Convert Apple Log with LogGate Pro
This is where most tutorials skip a critical step. You can’t just drop Log footage into Premiere Pro or Final Cut Pro and expect it to look right without either converting it first or applying a LUT manually.
LogGate Pro handles this in seconds:
- Open LogGate Pro on your Mac
- Drag your Apple Log footage into the app (batch processing supported)
- Choose your output format: ProRes 422, ProRes 4444, HEVC (H.265), or H.264
- Select your output color space (Rec.709 for most editing workflows)
- Click Convert — LogGate processes in real time using Apple Silicon hardware acceleration
The result is footage that looks correct on any display, correctly interpreted by any editing software, and ready for further color grading if you want it.
Step 4: Color Grade in Final Cut Pro or DaVinci Resolve
Final Cut Pro Workflow
After converting with LogGate Pro, import your footage into a Final Cut Pro library. Create a new project at 4K 24fps. Your clips will look correctly exposed and color-balanced from the start.
For a quick professional look: apply a Color Board effect, boost saturation slightly, add a subtle S-curve, and use Color Wheels to warm or cool the image as needed.
DaVinci Resolve Workflow
If you want more artistic control, DaVinci Resolve gives you Hollywood-grade tools. After converting with LogGate Pro, your footage enters DaVinci as a clean Rec.709 image. Use the Color page for per-clip grading, apply node-based corrections for complex looks, and export a LUT if you want to build a consistent brand style.
Step 5: Export for Delivery
- YouTube / Vimeo: H.264 or H.265, 4K, Rec.709
- Client delivery: ProRes 422 HQ for archival
- Social (vertical): H.264, 1080×1920, optimized for mobile
Full Workflow Summary
- Shoot in Apple Log (or Apple Log 2) on iPhone 17 Pro
- Transfer to Mac via USB-C or AirDrop
- Convert to Rec.709 in LogGate Pro — 30 seconds per clip
- Import to Final Cut Pro or DaVinci Resolve
- Grade, cut, and export
Get Started
If you’re shooting Apple Log on iPhone 17 Pro, LogGate Pro is the fastest way to go from flat Log footage to broadcast-ready video. One-time purchase, no subscription, processes an entire shoot in minutes using your Mac’s Apple Silicon chip.
Download LogGate Pro on the App Store →
Not sure which macOS tool to use? Read our comparison: Best macOS Video Conversion Tools for iPhone Filmmakers 2026.